The Lip Stain Lip Tint Mistake That’s Secretly Ruining Your Pout
You spent the money. That viral lip tint promised a perfect, juicy, popsicle-stained pout that would last all day. After one swipe, your lips looked amazing. But after one cup of coffee, you look in the mirror and it’s gone. Or worse, it’s a patchy, uneven mess clinging to the dry parts of your lips, with a weird, dark ring on the inside.
You blame the product. You think, “maybe lip stain lip tint formulas just don’t work for me.” You’ve been told it’ll last six-plus hours, but yours barely makes it past your morning meeting. It’s frustrating, and it feels like a total waste of money and time. But what if the tint isn’t the problem? What if the product is actually formulated to be amazing, but you’re accidentally ruining it within seconds of putting it on?
Your color disappears in an hour, and it’s probably not the product’s fault. You might be making one of the biggest mistakes that ruins that perfect, glass-like finish and destroys its staying power before it even has a chance. It’s a habit you probably don’t even realize you have. Below is exactly what that mistake is, plus the pro technique to fix it, so you can finally get the flawless, all-day color you were promised.
The #1 Mistake Revealed: The Smack Down
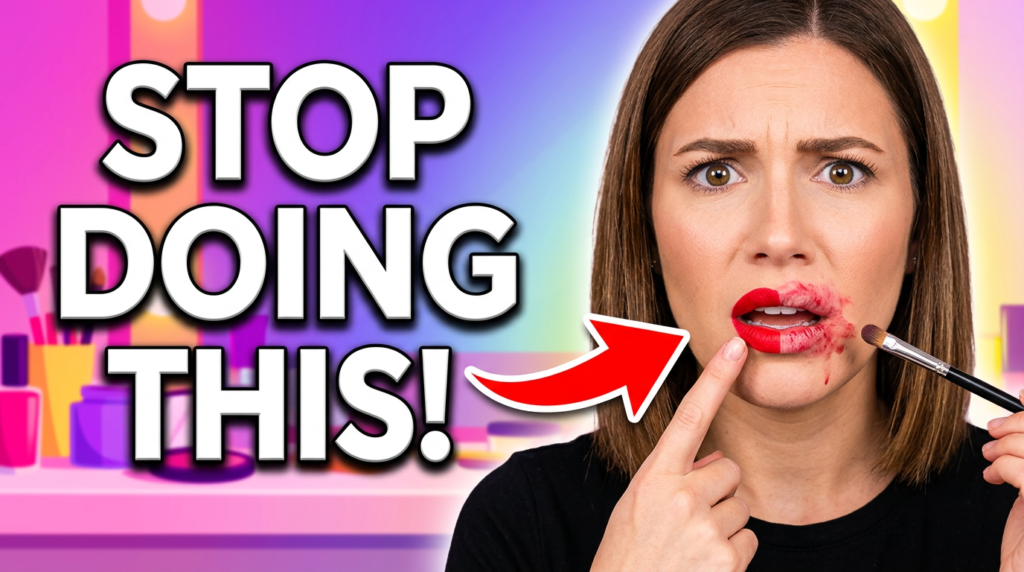
So, what is this critical, performance-killing error? It isn’t about buying the wrong brand. It isn’t about applying too much. It’s that simple, almost reflexive action of smacking or rubbing your lips together right after you apply the tint.
It feels so natural, honestly. We’ve been doing it our whole lives with traditional lipstick to spread the color. But with modern lip tints, especially the glossy or watery formulas, this is the absolute worst thing you can do. You are literally messing up that beautiful finish before it even sets.
Here’s why this one little action is so destructive. You’re working against the science of the formula. Many popular modern tints, particularly the glossy K-beauty ones, are designed with sophisticated film-forming ingredients. They often have a watery or volatile base that delivers the color, while other oils and polymers are meant to create that signature high-shine, “glass lip” effect, a trend that has dominated K-beauty routines for years.
When you smack your lips together, you’re disrupting that delicate film as it’s trying to form. You’re preventing the glossy layer from creating a smooth, flawless glaze. Instead, you’re mashing the gloss and the pigment together, which can dilute the color and make it look streaky and patchy.
Even more critically, you’re not giving the pigment a chance to do its main job: to tint your lips. The formula needs a moment of stillness to allow the colorants to properly adhere to the outermost layer of your lips. By rubbing your lips, you’re essentially wiping the stain off before it can set, smearing it around unevenly, and pushing it all toward the inner, wet part of your mouth. This is why you get that dreaded dark ring in the middle and nothing on the rest of your lips. You’ve just undone all the technology that went into that little tube.
Understanding the Difference: Lip Stain vs. Lip Tint
To truly appreciate why the “no-smacking” rule matters so much, it helps to understand what a lip tint actually is and how it differs from a traditional lip stain. The marketing terms can get blurry, but the formulas have different goals.
A lip tint is usually a lightweight product, often with a watery or gel-like feel, designed to give a sheer, natural wash of color. Its primary goal is subtle enhancement and that hydrated, “my lips but better” effect. The finish is often dewy or glossy, mimicking the look of healthy, plump lips. Think of that fresh, just-ate-a-popsicle look.
A lip stain, on the other hand, is generally a more heavy-duty product. It’s formulated to leave a long-lasting color by having dyes that absorb into the top layer of your lip’s skin. Its main purpose is intense, smudge-proof wear that can survive eating and drinking. While many classic stains had a matte finish, today you can find stains in all sorts of finishes.
The mistake we’re talking about primarily applies to those dewy, watery, or glossy tints that are so popular right now. For these to work, the pigments need to be left alone to bond with your skin, and the glossy film-formers need to be left alone to create a smooth, unbroken surface. That moment of patience — that 60 seconds where you don’t touch your lips — is where the magic happens. That’s when the watery base can evaporate, leaving the pigment behind to do the staining and allowing the oils to create that beautiful shine.
The Pre-Application Ritual: Building the Perfect Canvas
Now that you know the biggest mistake to avoid after application, let’s talk about what you need to do before you even open the tube. A flawless, long-lasting tint is impossible on a poorly prepped canvas. There are two non-negotiable steps.
First: exfoliate. You have to start with a smooth surface. Lip tints and stains are notorious for clinging to any bit of dry, flaky skin, which causes a patchy, uneven look. You don’t need a fancy product; gently buffing your lips with a damp washcloth or a soft, clean toothbrush works perfectly. This removes the dead skin and ensures the tint has an even canvas to grab onto.
Second, and this is just as crucial: hydrate and blot. Many people think applying a thick layer of lip balm will help the tint go on smoother, but this is another common mistake that can sabotage longevity. While tints do work best on hydrated lips, a super slippery, oily barrier can prevent the pigment from properly adhering to your skin, reducing the wear time.
So here’s the pro secret: apply a thin layer of a lightweight lip balm and let it sink in for a few minutes. Then, right before you apply your tint, take a tissue and blot your lips thoroughly. This removes the excess shine and oiliness but leaves the lips soft and moisturized. You’ve primed your lips perfectly — hydrated enough to prevent patchiness, but with enough grip for the tint to properly set.
The Pro Application Technique: The “Patient Pout” Method
Your lips are prepped and you’re ready to apply. This is what’s known as the “Patient Pout” method.
Step 1: Go in with a thin layer
When you pull the applicator out of the tube, wipe off the excess on the rim. It’s much better to build the color in thin layers than to apply one thick, goopy coat.
Step 2: Apply to the center first
For that beautiful, trendy gradient look, dot the tint onto the inner part of your top and bottom lips. Don’t take it all the way to the outer edge just yet. You want the color concentrated in the middle.
Step 3: Blend and feather it out
Using a clean fingertip, a cotton swab, or a small lip brush, gently tap and blend the color outwards toward your lip line. The goal is to create a soft, diffused edge where the color seamlessly fades into your natural lip color.
Step 4: The Patient Pout
For the next 30 to 60 seconds, do nothing. Do not smack your lips. Do not rub them together. Don’t even talk. Hold your mouth slightly open and just let the formula work. Let the pigment set and let that glossy layer form on top. This single step will fundamentally change the wear time and finish of your lip tint.
Step 5: Build if desired
After a minute has passed and the first layer is set, you can go in with a second layer if you want more intensity. Again, focus the color on the inner part of the lips and let it set without smacking.
Once everything is fully dry and set, the underlying stain is locked in. At this point, you can gently press your lips together, drink your coffee, and go about your day with confidence, knowing your color will last so much longer.
Bonus Hacks for Better Wear
If you want to take the longevity and look even further, here are two extra pro hacks.
First, the concealer trick. If you have naturally pigmented lips that tend to alter the shade of your tints, try this. Apply a tiny, pin-sized amount of concealer to your lips and blend it out to create a neutral, blank canvas before you start. This helps ensure the color in the tube is the color you get on your lips, a technique makeup artists have long used to neutralize uneven pigmentation before applying color products.
Second, the powder set. To seriously boost the staying power, you can set your tint with translucent powder. After your final layer of tint has completely set, gently blot your lips with a tissue to remove just the top glossy layer. Then, take a small, fluffy brush with a tiny bit of translucent powder and lightly pat it over your lips. This helps lock the stain in place and reduce transfer. You can then apply a clear gloss on top if you want to bring back that juicy shine.
The secret to a perfect, long-lasting lip stain lip tint has less to do with finding a magical product, and everything to do with technique. The huge mistake — smacking your lips together — is likely what’s been standing between you and that flawless, popsicle-stained look.
By preparing your lips properly, applying the tint in thin layers, and giving it a minute to set, you help the formula perform exactly as intended. You’ll get a beautiful, even stain that provides a base of color, and a glossy finish that makes your lips look juicy and full. No more patchiness, no more disappearing acts after one drink. Just beautiful, comfortable, longer-lasting color.
FAQ Section
Why does my lip stain lip tint fade so fast?
The most common cause is smacking or rubbing your lips together right after application, which disrupts the pigment before it can set and breaks the glossy film-forming layer.
How long should I wait before touching my lips after applying tint?
Give it 30 to 60 seconds of stillness. This “Patient Pout” window is when the color bonds to your lips and the glossy top layer forms.
Should I exfoliate before applying lip tint?
Yes. Tints cling to dry, flaky patches and create a patchy look. Gently buff your lips with a damp washcloth or soft toothbrush beforehand.
Does lip balm help lip tint last longer?
Only in the right amount. A thick, oily layer of balm can actually block the pigment from adhering. Apply a thin layer, let it absorb, then blot before applying tint.
What’s the difference between a lip stain and a lip tint?
A lip tint gives a sheer, dewy wash of color with a lightweight feel, while a lip stain is more heavy-duty, formulated for intense, smudge-proof, long-lasting wear.
Can I make my lip tint more matte and long-lasting?
Yes — after your final layer sets, blot lightly, then pat translucent powder over your lips to lock in the stain and reduce transfer.